Will - Devlog
The main inspiration for this game would be Dead By Daylight. There are certain features in the game that do mirror the mechanics of DBD.
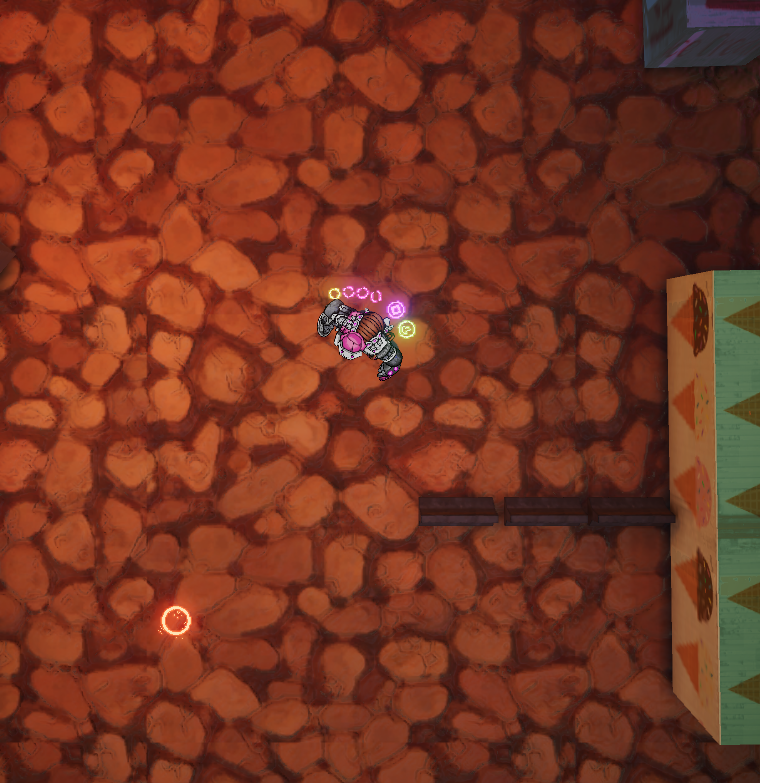
First off, this is a game played on one screen. And since the two survivors have already occupied the keyboard, I thought that why not just use the mouse as the control for the monster. This itself adds to the asynchronous aspect of this multiplayer, having the two types of players use completely unique ways of playing. The monster would use the click to move controls, so the left mouse button would be dedicated to movement. This only leaves two other buttons, the right mouse click and the mouse wheel. It's largely limited compared to the keyboard so I thought of just simplifying the monster controls. However, because I have a gaming mouse with two extra buttons on the side, I thought about incorporating them in. But the two problems are that it is too complicated to manage 5 buttons with one hand, and also not everyone has access to a gaming mouse.
Movement
The click to move system utilizes the NavMesh system in Unity. At this point I already have ample experience with this( my two previous games, Fighter 0 and Blue Wheels utilizes NavMesh systems), but I had never created it for the player, and only for NPCs. After playing around with the system and creating the click movement, I found out that it is significantly less complex to create such a system for the player. This is firstly because I did not have to use Rigidbody for the player. Whenever I use NavMesh, I would always keep in mind that it does not bode well with Rigidbody. Many of my AI's used Rigidbody for certain attacks and has created numerous issues. In this case, not having to use Rigidbody simplified the process a lot. Secondly, there is only one NavMeshAgent, so I did not have to worry about performance issues from the oversaturation of calculations done on the NavMesh.
Moving onto the abilities, the right mouse button would be used.
Abilities
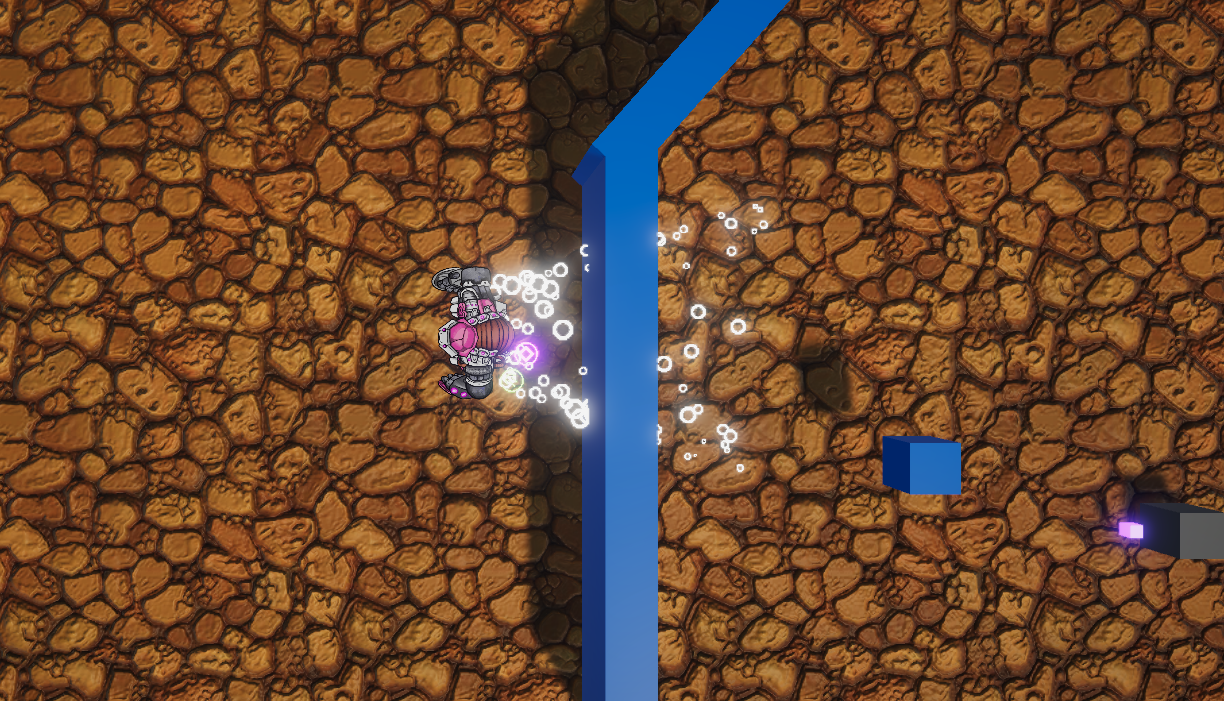
The first ability is the phase dash ability in which the player can dash and phase through objects. The first issue that I saw from this during development is that the monster cannot phase and stop inside another collider. So to solve this I set it so that the player has to hold down the right mouse button to specify a destination on the ground first, and the player cannot phase if the destination is in contact with other colliders. I did this by creating a circular indicator that turns red if the destination is outside the phase distance limit and if it is touching any other colliders. I simply made an overlap sphere that would detect if there is any collider in contact with the ring, and if not then the player can phase. For the phase I used Vector3.Lerp instead of Rigidbody.AddForce as it can lerp the player to the exact position the player selected with pin point accuracy. And this saved me the pain of having to deal with the problems that come from having NavMeshAgent and Rigidbody on the same gameobject. However, there was another issue that came up. The speed of the dash depends on the distance between the destination and the player position. To fix this, before adding the multiplier to the interpolation number between 0 and 1, I divided the max distance it could travel by the distance between the two transforms and multiplied it to the interpolation adder. But later I did realize I could have just divided the Time.deltaTime that is multiplied to the adder by the distance for a simpler version.
This ability after testing out, is pretty valuable as there are certain routes only the tiny survivors could access, or perhaps the survivors blocked a path with the road blocks. It is direct counter to the agility of the survivors.
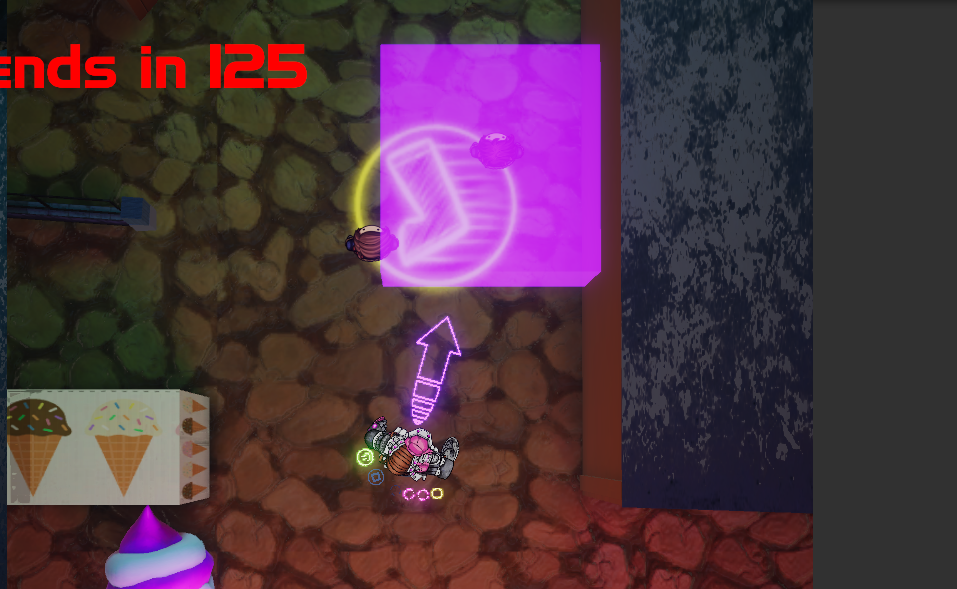
The second ability is the shootable cage. This one was a bit trickier than the phase ability to make. To switch to the second ability the player can use the mouse wheel. I never accessed the mouse wheel until this project and the way the value worked was slightly confusing but didn't take too long to figure out.
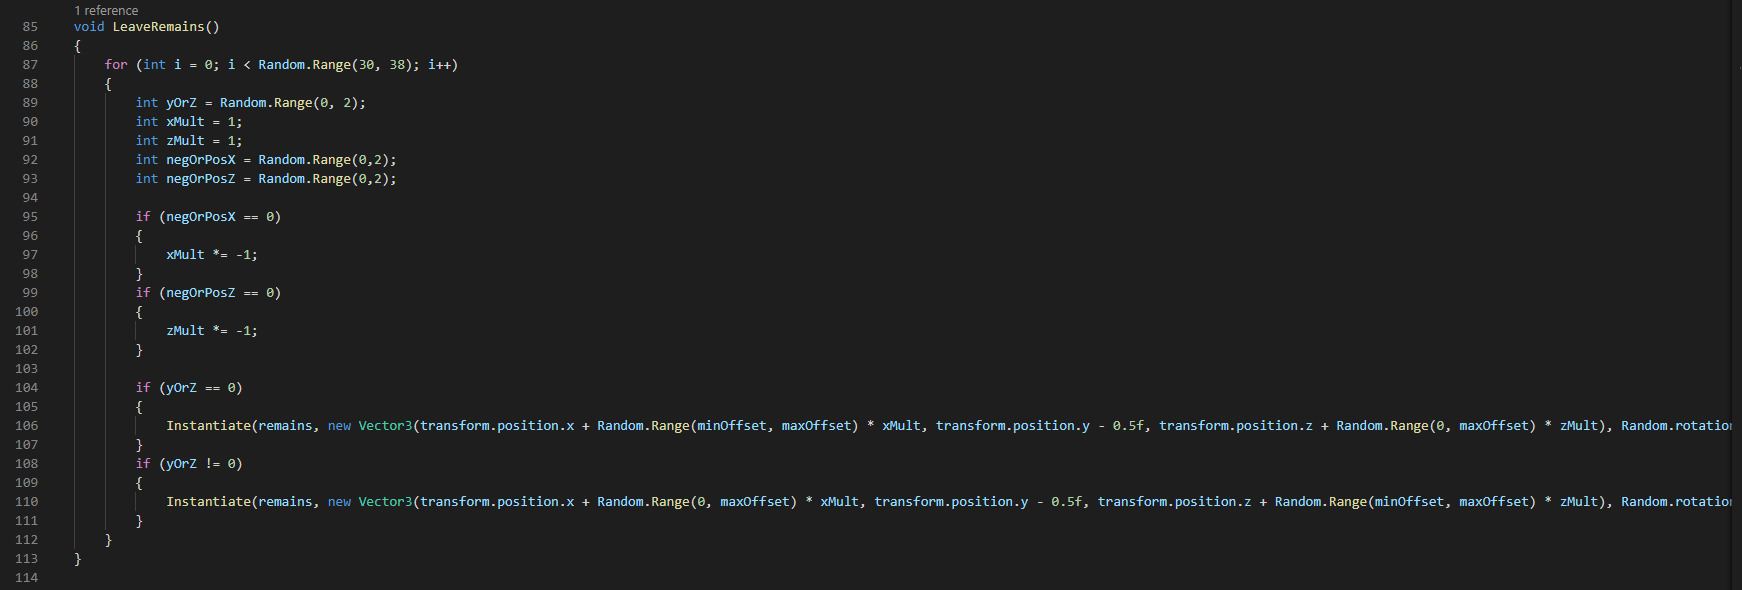
The first step of the cage ability was to make an aim system and shoot out a bullet by right clicking. This was simple enough, basically instantiate a bullet and add force to it. I slapped on a particle effect to make it look more appealing as it was just a glowing sphere. The second step was to create a cage. The cage is just a cube that looks like a forcefield. At first I wanted to just use a cube with a box collider, and the cage would not act as a cage but as a blocker when the survivors are traversing through a narrow path. I changed it afterwards because it was simply to situational and can only be used a few times. I changed the cube to an empty gameobject with 6 quads forming a box and attached colliders to each side. The cage after instantiated starts at a miniature size and will expand quickly into full sized box. To instantiate the box, the player simply had to right click again or initially let it bounce 3 times, later changed to one time. At first even by having the colliders stay as colliders did not push the survivors away and actually boxed them in. But upon further testing, the box would sometimes glitch the player out of the ground and push it down. To fix this I set the colliders to triggers when the box is still expanding. I thought this was it, until while testing, I thought that it is way too overpowered. And it certainly was when play tested. If the monster catches a survivor, it can catch up in an instance and close in the distance the survivors had tried so hard to create. To solve this issue, I changed the stay time of the cage to less than 3 seconds, and also added a debuff, which are remains left on the ground from the borders of the cage that will slow down the monster if it walks on them. Instead of trying to find a way of doing this online, I just tried to hard code it. I think there were definitely better ways, but I left out the trouble of doing research. I used the following code that will evenly spread the remains and make it appear that they came from the borders.
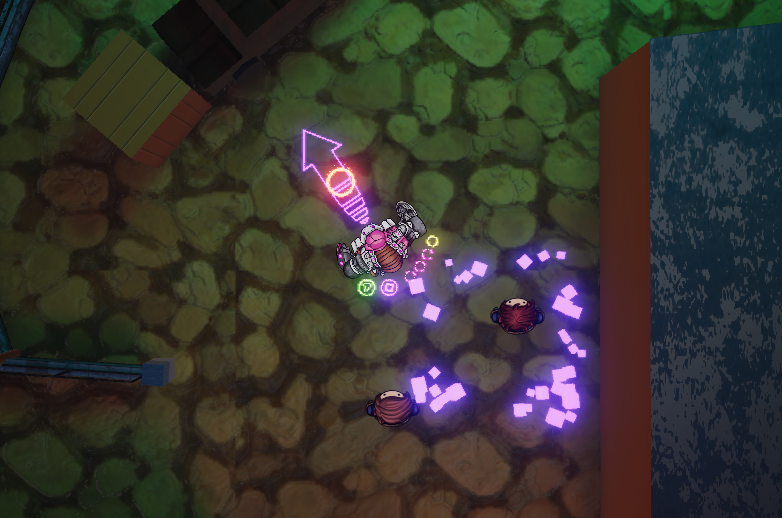
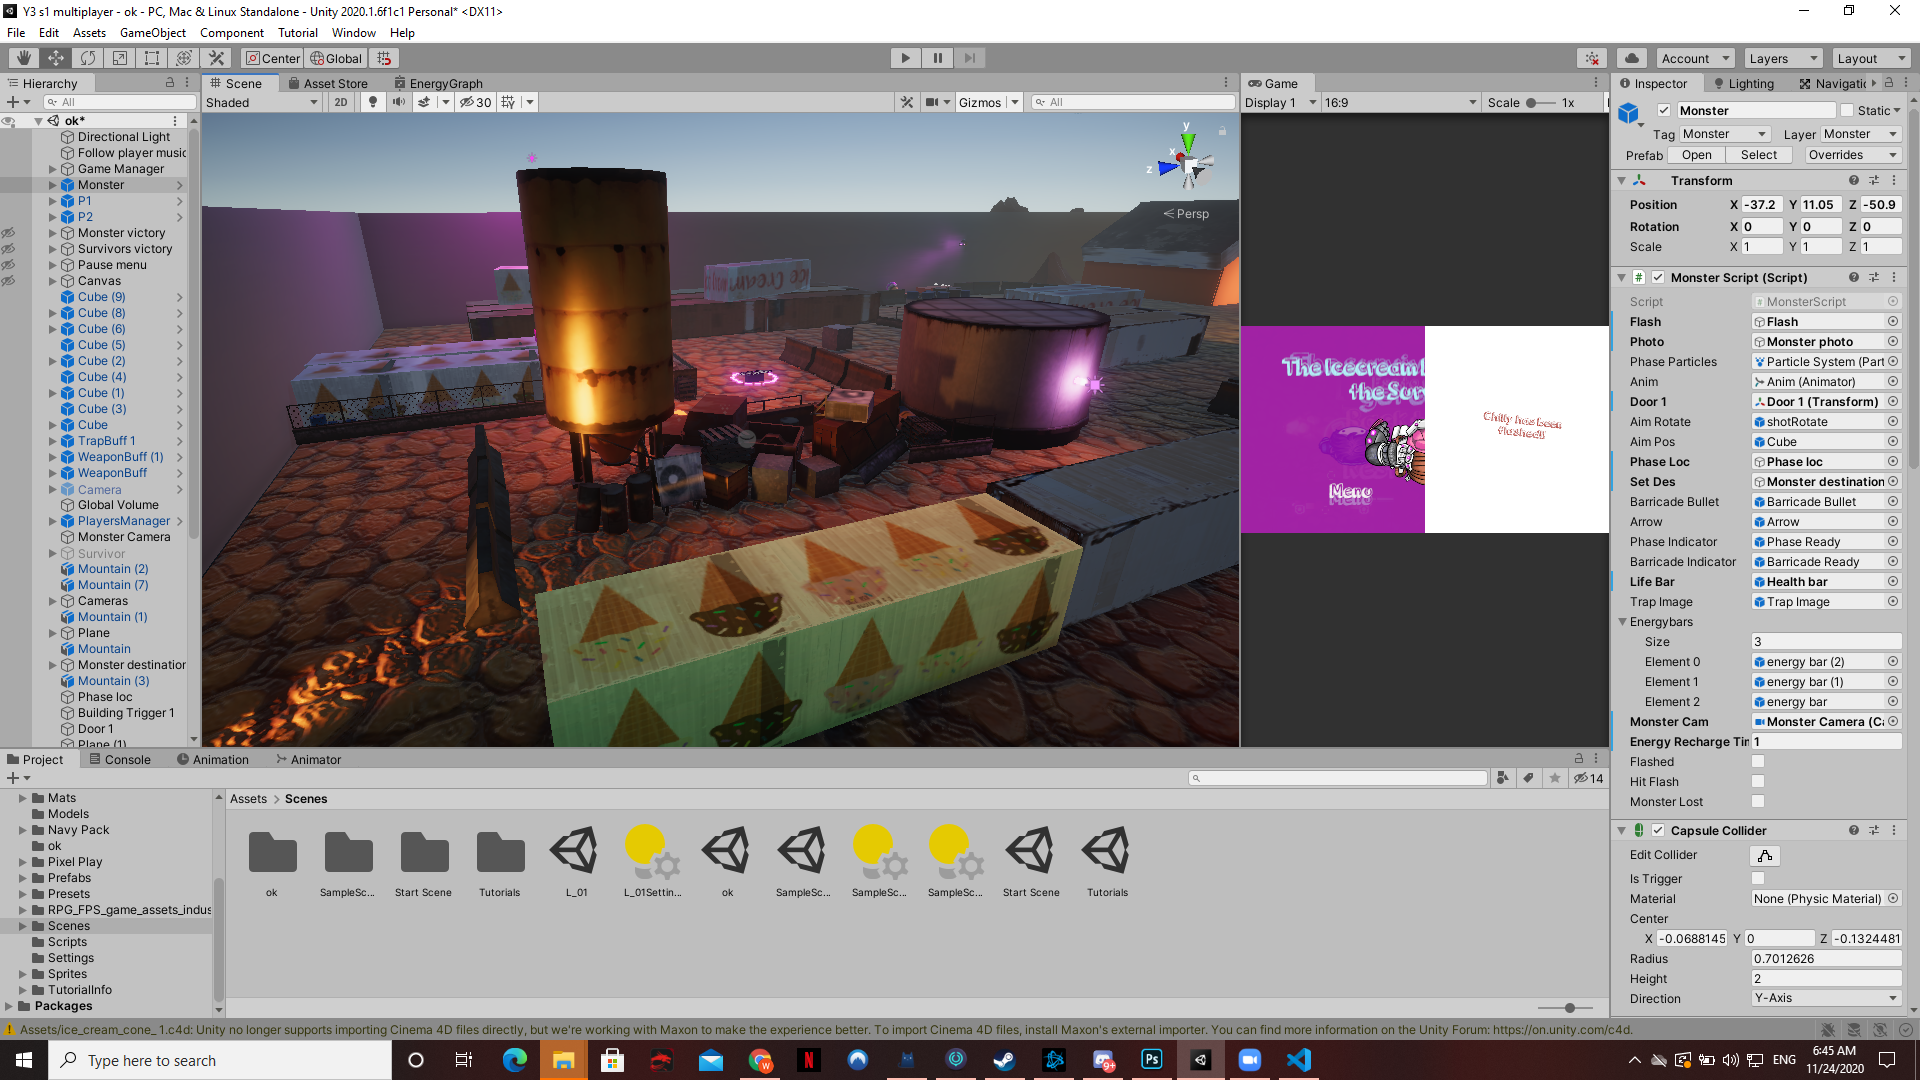
Furthermore, the monster has an energy system that limits the use of abilities. Each ability eats two energy bars, and it takes around 7 seconds to recharge one energy bar. With the max of 3 energy bars, it did balance the game quite efficiently. Also, the monster has one method of dying. That is if it is hit by a bullet from the player weapon when it has no energy bars left. If it does have an energy bar, one bullet will simply take away one energy bar without killing the monster. The players also have the traps ability which can halt the monster's movement. I wanted to make the punishment for stepping into the traps to be just getting stunned for certain amount of seconds. But this is a repetitive mechanic that is already used in another survivor tool I made that will be mentioned after this. Instead, after getting trapped, to free the monster, the player needs to click on the trap seven times to break it. During the trap duration, the monster will lose one energy bar every 1.5 seconds, so the severity of being trapped purely depends on the player controlling the monster.
---------------------------------------------------------------------------------------------------------------------------------------------------------------------------
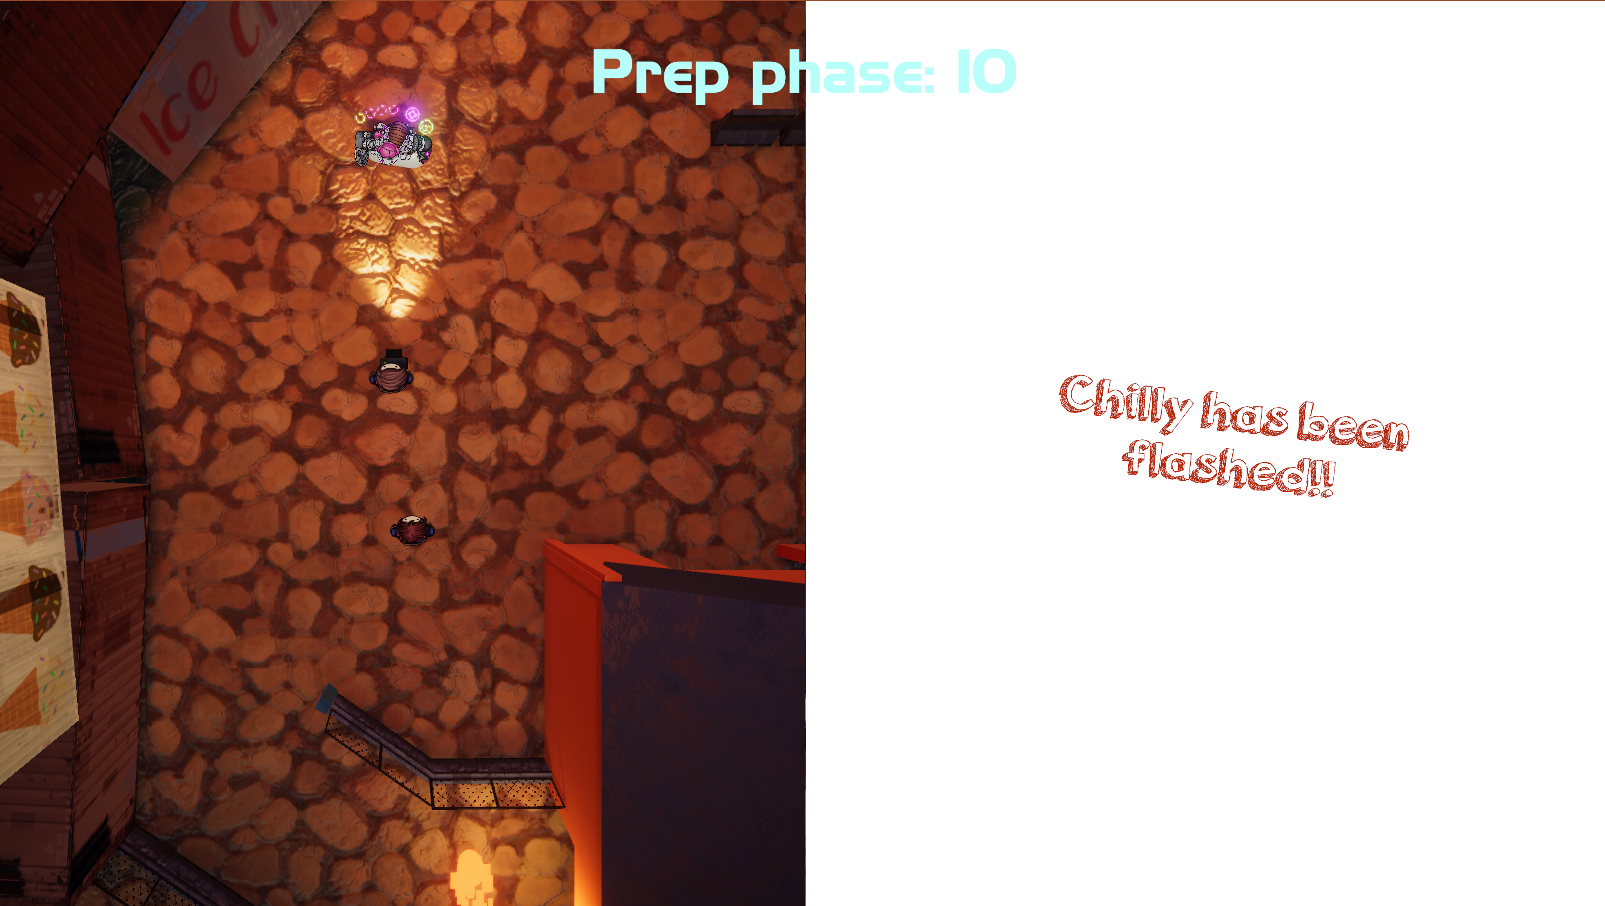
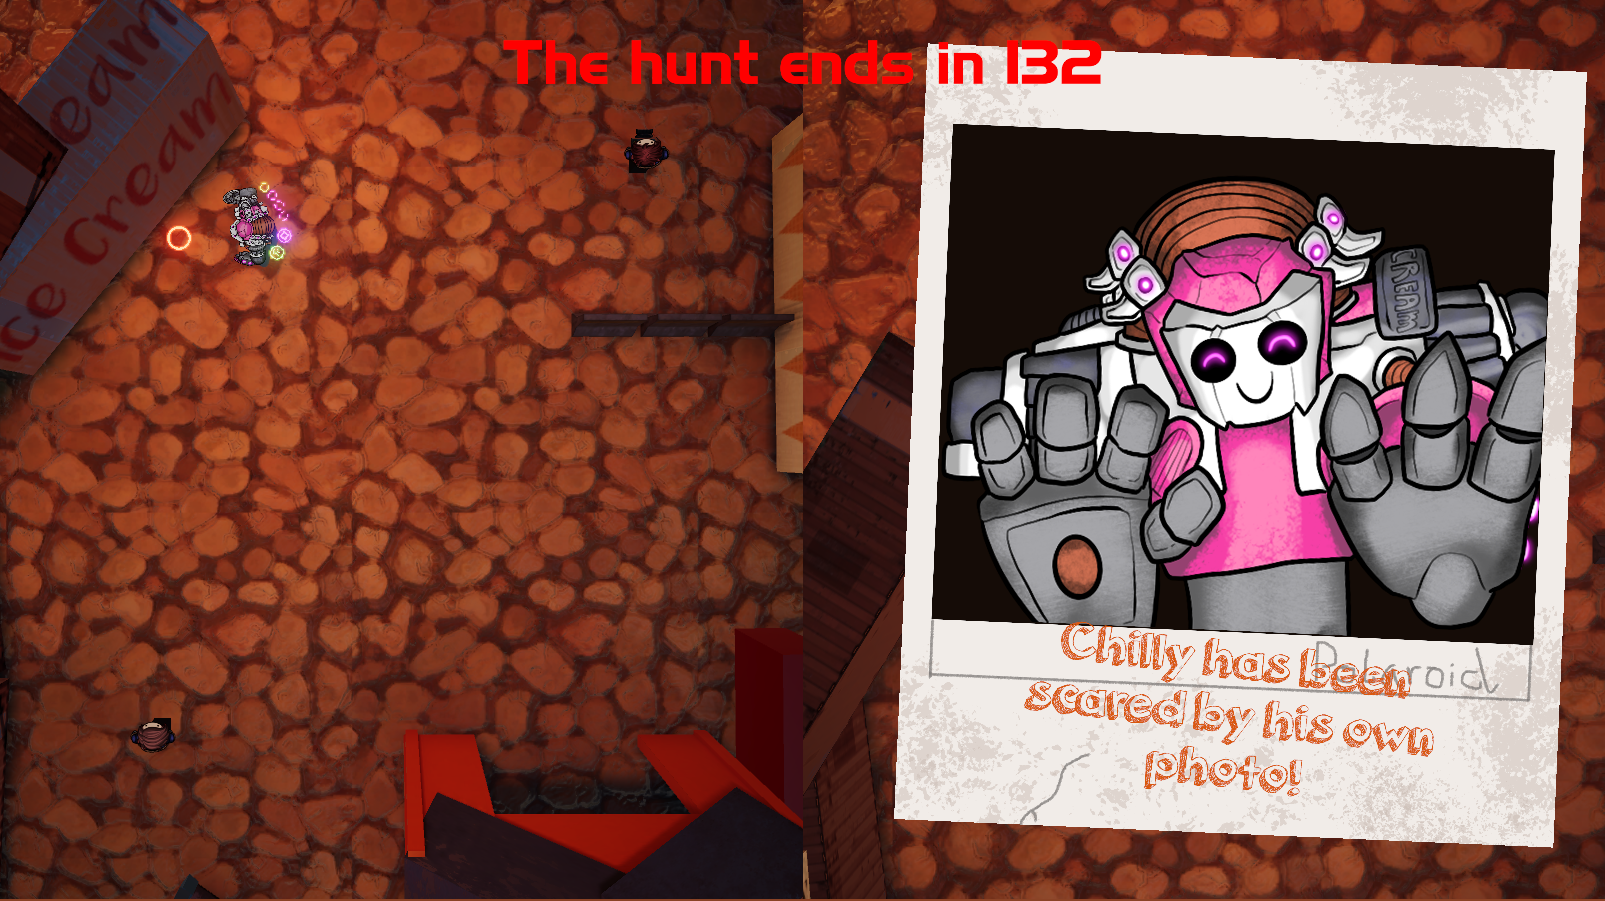
Upon making the monster I made one of the tools for the survivors, which is the Camera. I think this is the most difficult ability that I had to make compared to the monster's. The camera ability basically allows the player to take a picture and flash the monster, causing it to become stunned. On top of that, the player who took the photo will gain polaroid photos which they can stick onto any wall. If the monster sees its own photo it will become stunned again.
The process for making this is more difficult because there are many things that need to be checked. For the camera, the player needs to face the monster to flash its eyes. There is a function: Vector3.Dot combined with Mathf.Acos(value of Vector3.Dot) that returns the angle value. I used this to get the angle between the transform.forward of the camera and the direction between the camera and the monster. If the angle is within range, then the monster is in the range of the flash. However, that does not mean the monster is facing the flash. The monster might be within the angle, but may also be facing the other direction meaning it cannot be flashed. I thought about using Vector3.Dot to get the angle between the camera's transform.forward and the monster's transform.forward, but that simply did not work. It would make the process easier if it did. But after being within range, I had to cross reference a bool in the monster script and say that the monster is within the flash range. After that I had to repeat the angling process and get the angle between the monster's transform.forward, and the direction to the camera. It is then if the angle is within range then the monster is flashed. It was not difficult to do, but it felt like a less streamlined way of doing it.
For the photo, it can stick on any surface. I had to use the angle check script again, but not just for the monster. Because if the monster stands perpendicular to the photo and is within distance it is still going to get stunned, which won't make much sense as it's impossible to see the photo from such an extreme angle. So for this I also had to have an angle between the picture's transform.forward and to the monster's direction. Once within that viewing range, the monster can then get stunned by looking at the picture.

That concludes the players mechanics.
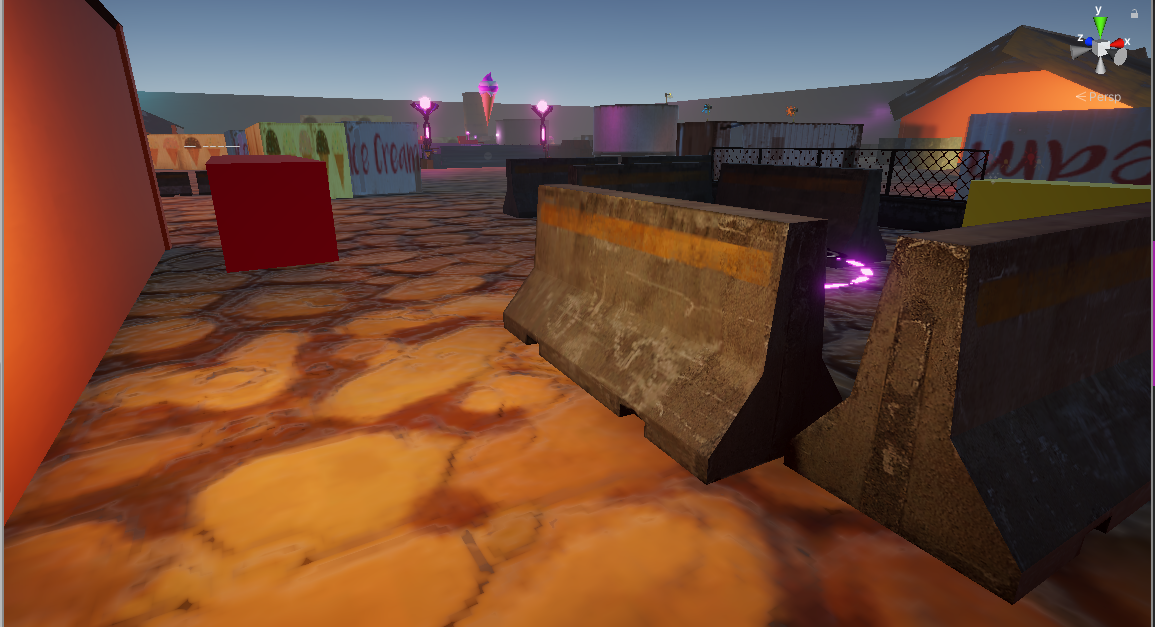
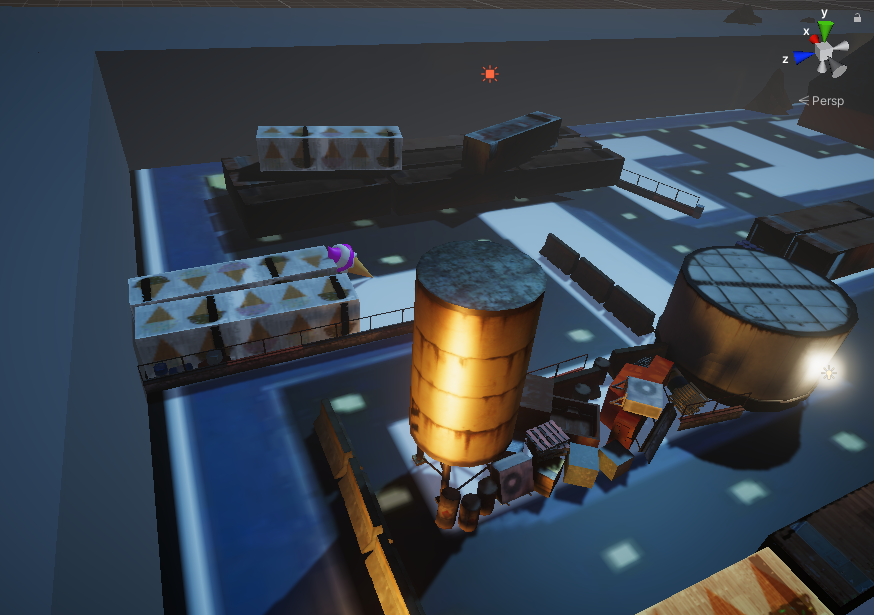
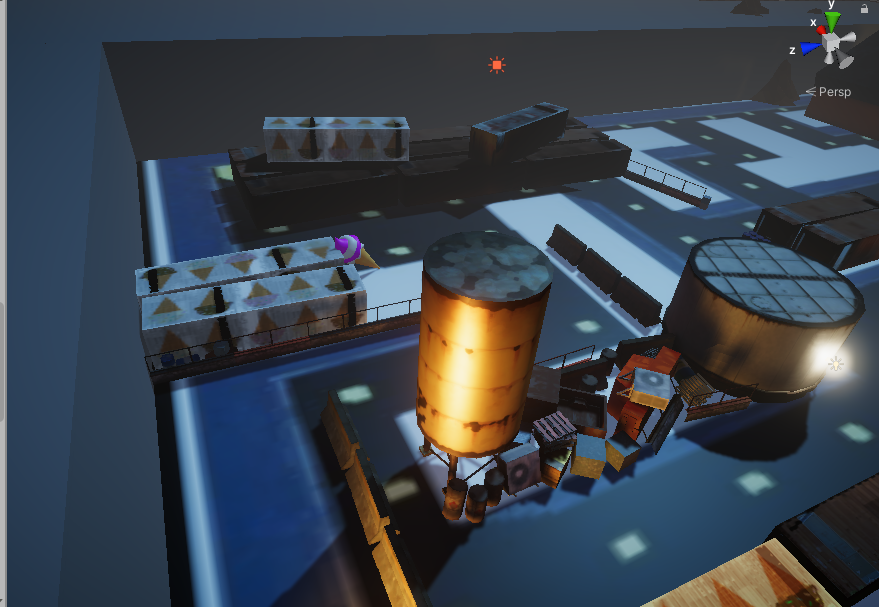
Moving onto the map design, there is not much that is technically difficult, but it was extremely time consuming. I took advice given in one of the classes and used the Pacman map as a guide to creating the map. There are many similarities but it was also at the same time very different. I wanted to make the map not look cartoonish, but lively and like an actual location. I used numerous assets that Ziyue sent me and tried to position everything in a way that made it visually appealing. In the later stages of development, Cecil really came in made some touch ups that created a better play experience on the map. In some parts, the map almost feels like little puzzles which added so much more flavour to the game play.

One thing that made this process extra excruciating for me is the NavMesh. I need to have NavMesh obstacle components cover everything that constitute as obstacles that monster cannot walk through. It was not as simple as putting them on as sometimes they have to be customized to make sure it doesn't carve too much of the NavMesh away that it blocks the player.

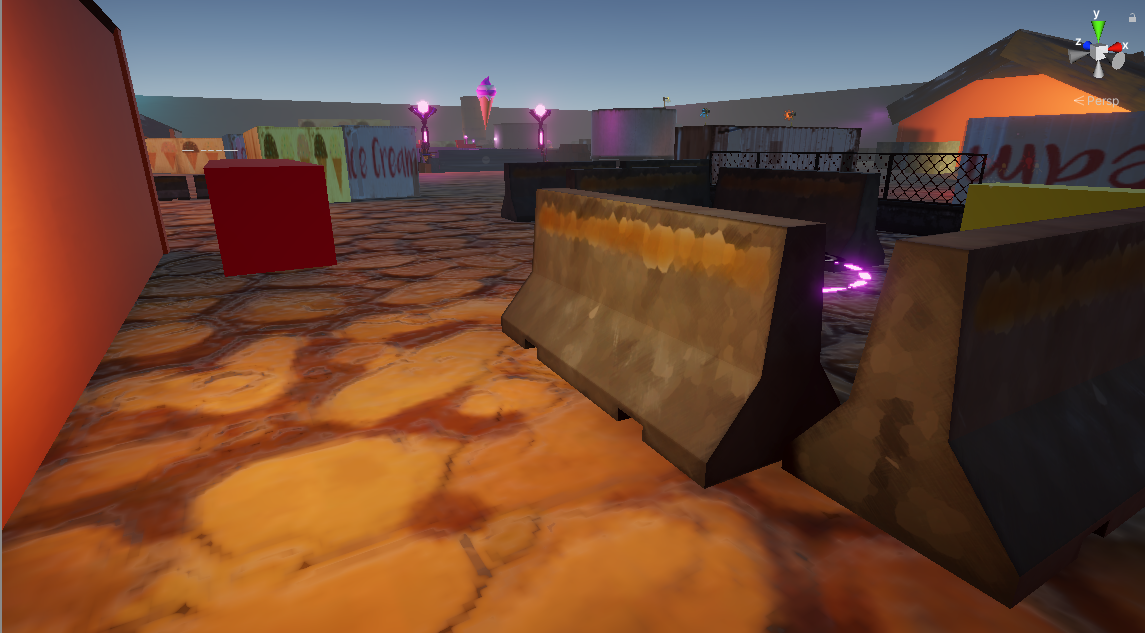
Finally, came the lighting. This would be my first time baking lighting. I shied away from using baked lighting before because I heard how long it would take. But in this case after putting everything in place, it only took 40 minutes.
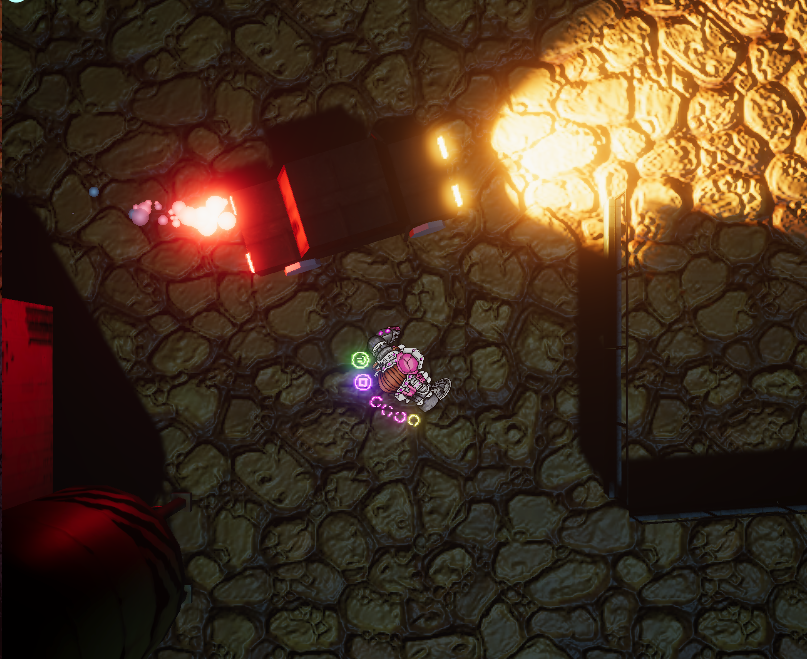
I wanted to have the lighting be half of the aesthetics that will make all the visuals pop. I left some lighting as mixed, as having those long shadows pop up when the players pass by can really make the experience more realistic and dynamic. Also, like in the above picture with the car, the mixed red lighting really sold the look of the smoke pumping out of the exhaust. Furthermore, I want to have lighting be an indicator and a memory helper of advancing the map learning of players. There are cool blue lights in some areas while some zones are warm and orange. As the players play through more, they should be able to memorize the map much better. I also made sure to have good colour transitions between cool and warm to boost the overall feel of the aesthetics.
Furthermore, I did some retexturing for some assets as they looked too realistic. When the players focus on the game so much, they might not put too much attention to the surrounding textures, but subconsciously they will see the extremely realistic texture that contrasts too much with the cartoon assets David had made. Even after retexturing, the aesthetics is not completely in line with the 2D assets, but it definitely did help.


After finishing the map, I put together the game manager that included all the UI elements from menu screen to win lose screens. It was the simplest of the process, and everything went smoothly here. Cecil just had to do a lot of the debugging on his two players that made the game win conditions smoother. He had to manage two player systems and it was quite difficult to make everything run smoothly right off the bat.
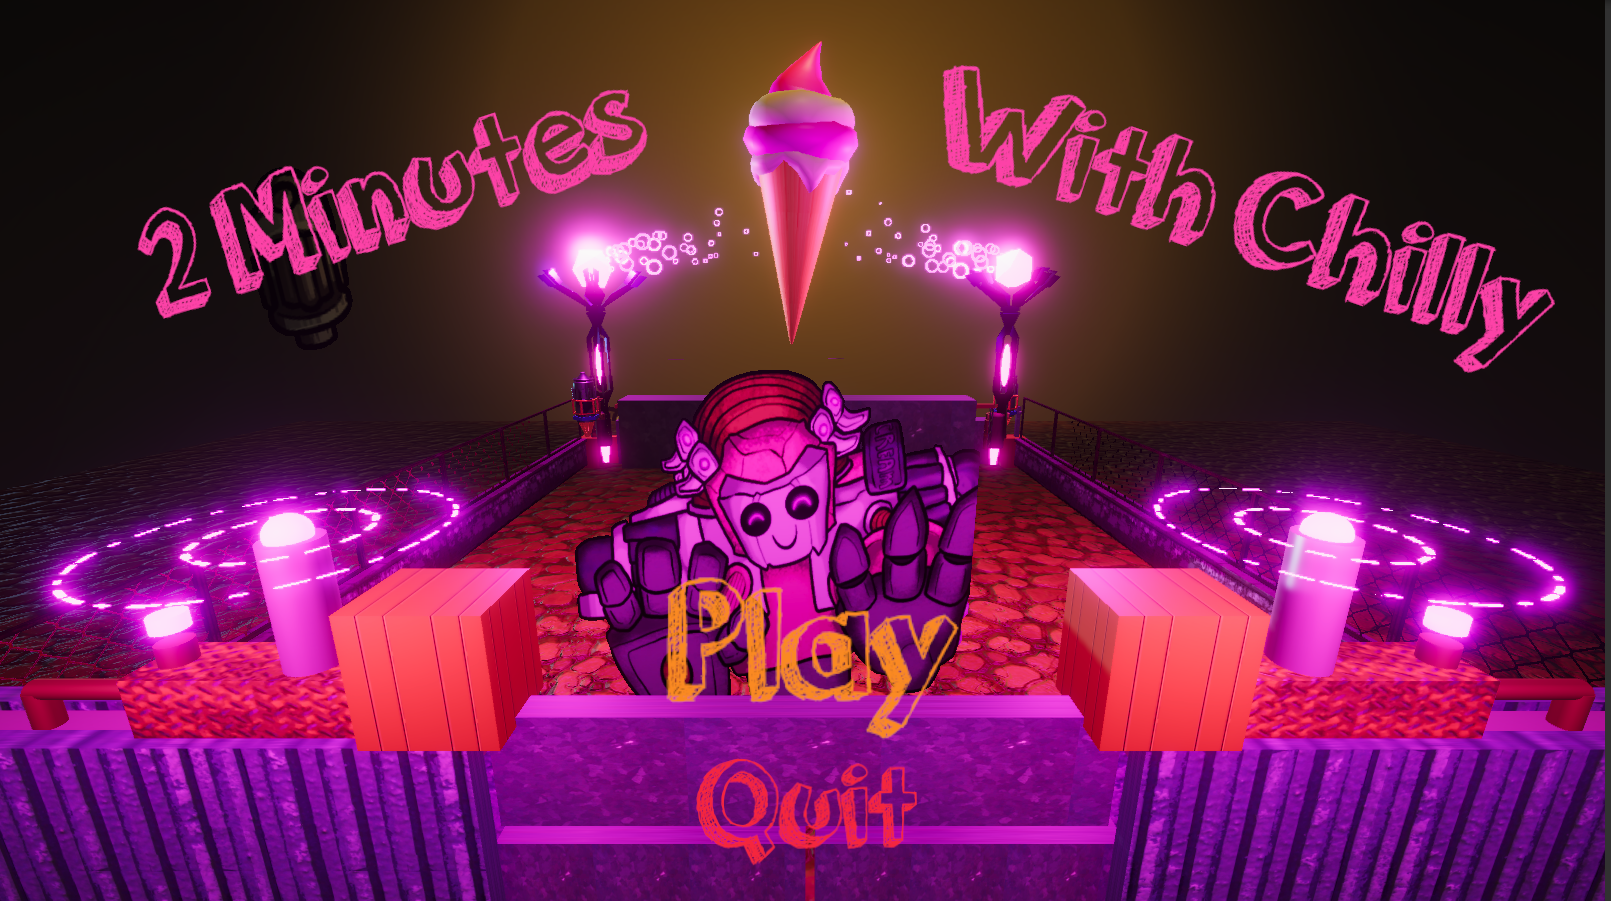
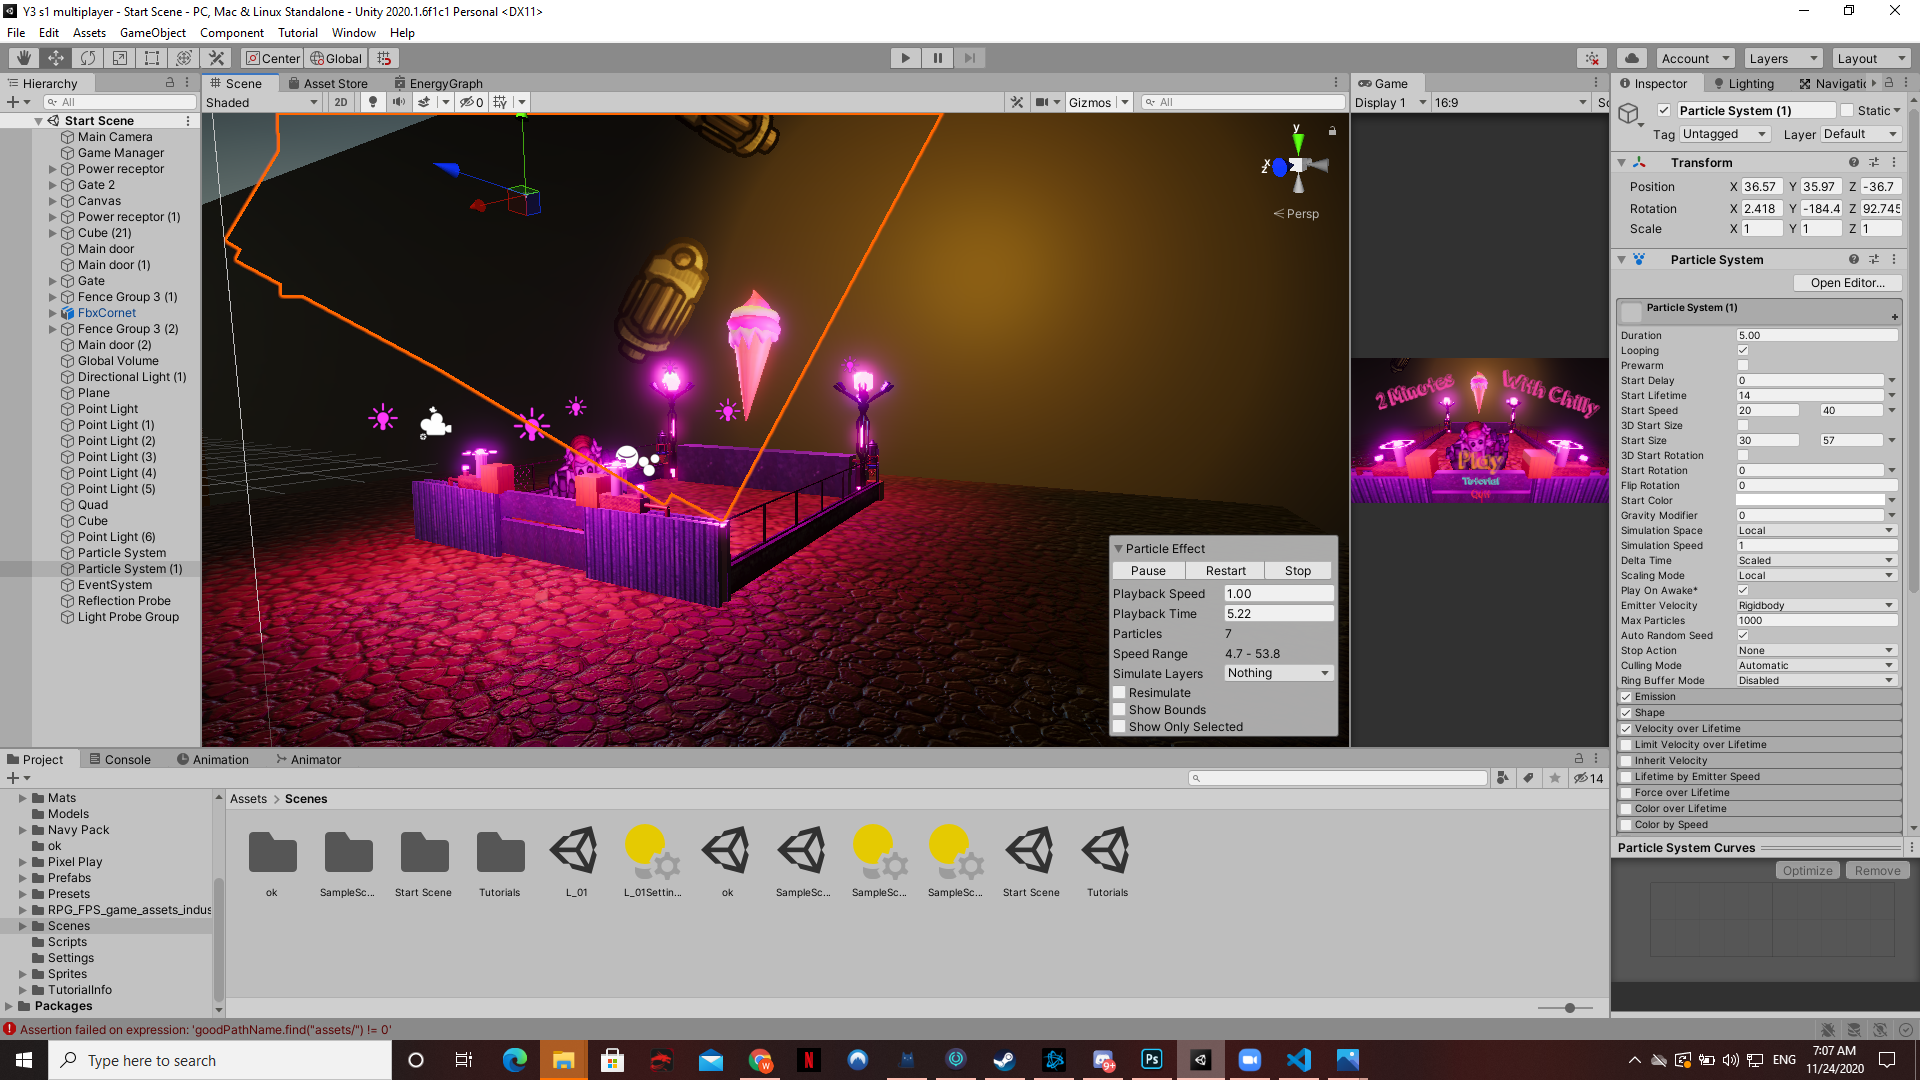
Ultimately, I put together a menu scene before the submission. It was a simple scene with the cage the monster starts in in the game. To make it more visually appealing I added reflection probes and a particle effect in the back that was throwing in game assets around. Me and Cecil picked out the Orange juice font for the buttons and it does fit the art style pretty well. The menu screen can be better, but it was the last minute creation that could not receive too much attention.
There are more minute details in the development process, but these are the main development processes and decision making on my side to make the game work as smoothly as possible. As an end note there are many improvements that can be made but just had no time on, they are documented in the future dev doc.
Leave a comment
Log in with itch.io to leave a comment.